I’ve begun transforming our apartment into a ‘smart’ apartment. My goal is to start adding some high-tech features to help streamline our lives with more efficiency, less headache and just a solid dose of ‘cool’. I have been testing out the Rec10 Wireless Internet Booster by Amped Wireless. So far, so good. I’m able to fill my apartment with a solid internet signal. No more black holes or weak spots.
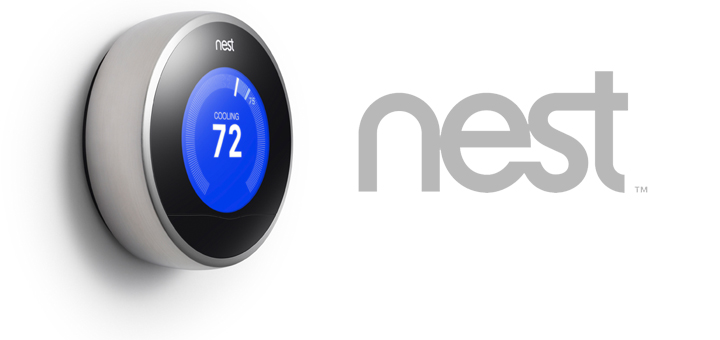
Today’s ‘Sunday Project’ was the Nest Thermostat installation. The Nest Learning Thermostat claims to stop what other thermostats are guilty of: wasting 20% of our heating and cooling bills. The Nest is a very sleek, high-tech looking device that replaces your old thermostat. It’s like sticking an iPad on your wall. That’s the impression I immediately got with the little experience I’ve had with it so far. But will it save me money?
It claims to do things most thermostats simply can’t:
- Learns the temperatures you like and programs itself to remember those temperatures at the right moments.
- Displays a leaf symbol when it finds the energy efficient temperature.
- Adapts to your system whether it’s forced air, heat pump or radiant.
- Saves energy when you’re away.
- Lowers your summer energy bills but cutting your AC runtime by 30%.
- Quick installation, connectivity to Wi-Fi and account setup.
I was up for the challenge! The first step is to get Nest installed and configured. Then I plan to study the results of its performance as time goes on and compare to past energy bills to see if it truly saves enough money to justify the $249.00 price tag (see below).
[hr]Nest Thermostat Installation
The first step was to get Nest installed. You can flip through the slideshow at the top of the page to see the steps it took me to get Nest installed. It was a pretty easy process. I would say it took me about 40 minutes (I was taking pictures as well). Nest claims most people can get it done in about 30 minutes.
Nest claims to work with over 95% of 24V heating and cooling systems, including gas, electric, oil, solar, hot water, geothermal, forced air, heat pump and radiant. I had a basic, forced air system. No problems.
The first warning I got from the instructions was that if your thermostat is labeled 120V or 240V or has thick wires nuts, your system is high voltage and Nest will not work. When I popped off my current thermostat cover, I saw the small, colored wires we were looking for, so I was good to go.
The best way to find out if you’re home or apartment is ‘Nest-ready’, simply visit nest.com/works and it’ll walk you through all you need to know. I didn’t do this step, since our building is relatively new and I can handle most ‘Sunday projects’ without too much failure!


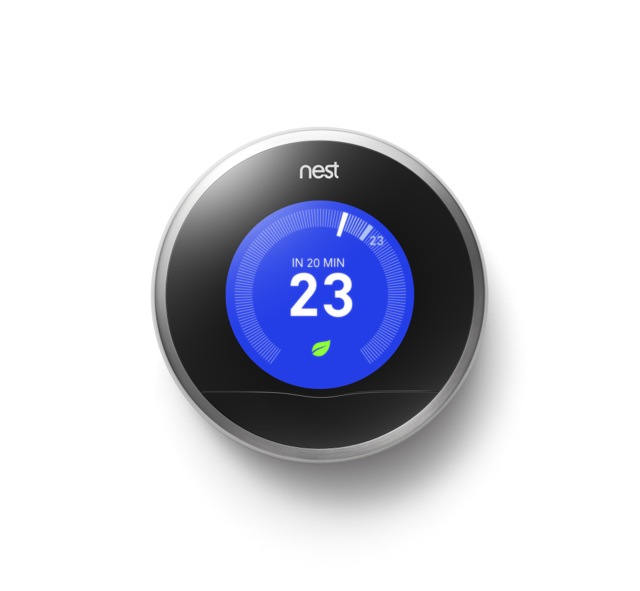

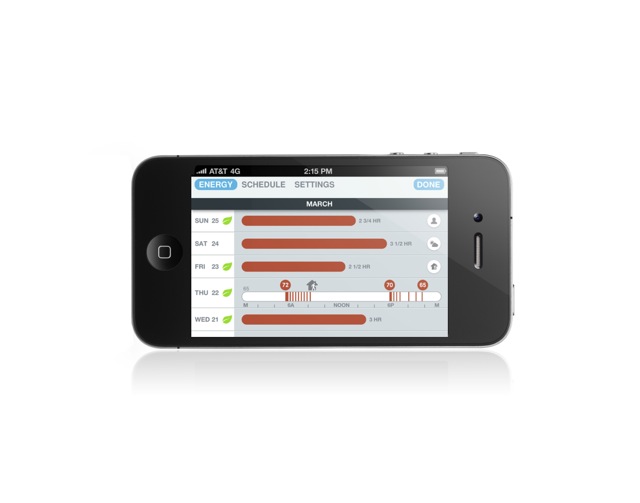
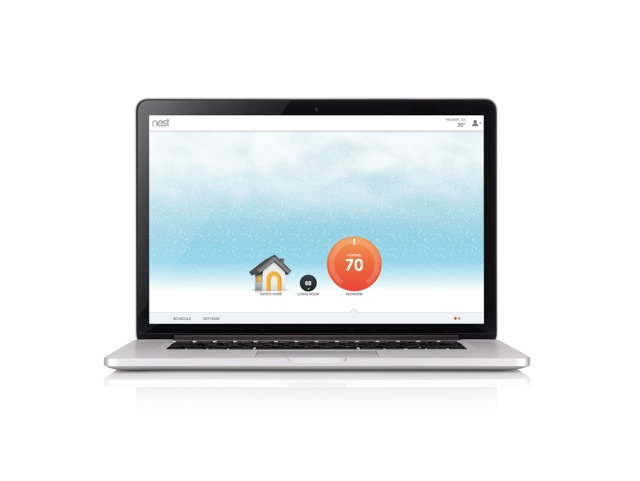
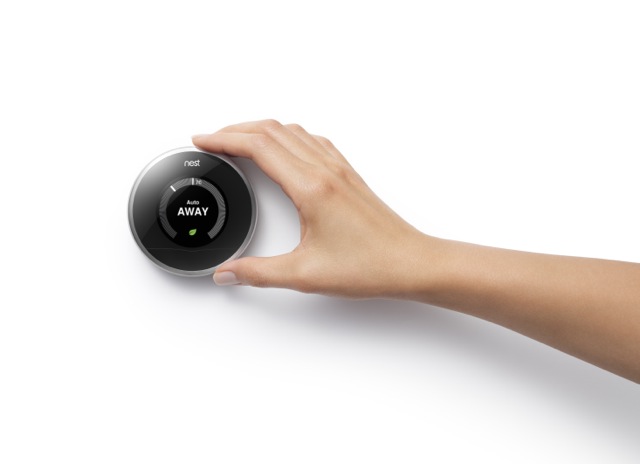
Installation was very painless. Once I was finished and the Nest started to glow and come alive, I was blown away. It provide on screen instructions that were very easy to understand. One of the first steps was connecting it to my Wi-Fi network so we can control the thermostat from the Web or from the Nest App on our iPhones. Just think…too cold while you’re sleeping? Roll over and adjust the temp on your phone. That saved a few seconds and the agony of getting out of bed! This would work great for adjusting the temp from away as well. Forget to set the thermostat before you went on vacation? No problem. Adjust the temp and lock it down in the iPhone and forget about it. It’s brilliant. It’s a long way from the radial dial I grew up with in my parents 100+ year old home in Minnesota (they still use it, so maybe it’s time for an upgrade!).
I registered an account on Nest.com and within seconds, the thermostat was asking me to confirm my account. It had already received the information from the website based on my network settings. It was genius…and fast. One thing I didn’t like was that if you’re too quick on the controls (dial and clicks) you may make a mistake while telling Nest about your space, location, etc. While you can change your location, I accidentally clicked through some other settings and couldn’t go back. But I fixed this on my online account seconds later. So I was good to go.
I gave my Nest an account name and set the temperature. The AC unit responded immediately. The humid, stale air of Miami was quickly replaced in our apartment with ice cold stale, Miami air. It was fantastic.
Nest seems to be making itself at home. Check back as I will have a review on ease-of-use and if it truly saves money as it promises too.
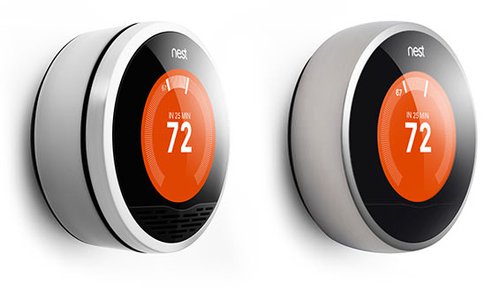
[hr]2nd Generation: slimmer, more energy efficient
The Nest Learning Thermostat I have is the 2nd generation.
The biggest difference you’ll notice (besides price) with the second generation Nest is that it has a slimmer design, about 20% thinner than its predecessor. Also, it has a host of new hardware and software features including more programmable energy-saving features, expanded mobile support and compatibility with even more home heating and cooling systems and, now, humidification systems too.
According to Nest Labs:
“The 2nd generation Nest Learning Thermostat is compatible with 95% of low voltage heating and cooling systems, including 2nd stage cooling, 3rd stage heating, dual fuel, emergency heat, and whole-home humidifiers and dehumidifiers.”
The Auto-Away feature has been improved to turn on more quickly after it has sensed that you’ve left the house, more languages have been added and, a biggie for Android users, the mobile app has been updated to support Android tablets like the Nexus 7 and Kindle Fire in addition to all iOS devices and Android smartphones.
[hr]Where can I buy a Nest? And how much?
Amazon offers up first and second generation Nest Learning Thermostats at discounted prices. You can even save on a used model that was returned to the store. Now, it’ll take some time to determine if my Nest is going to justify the price with savings over time related to my energy bills – but it’s all about testing. So again, please check back as I will be reviewing the success of the 2nd generation Nest and how it performs during the hot, sticky Miami summers.
[column size=”two-third”][/column][column size=”one-third” last=”true”]
Summary
So far so good. The Nest was super easy to install. If installing thermostats isn’t your thing, Nest will send someone out to do it for an added fee and they’ll even train you how to use it. But I have noticed no change in temperature. In the past few hours, I had to turn it up once or twice because it slipped down to 73 degrees. I set it there when I got it installed to cool the place down. 74 is the perfect temp for our apartment. But you see, I think it’s already learning about us. It’s a new relationship. These things take some time, but so far so good.
Check back for updates. And if you have installed a Nest in your home or apartment, leave a comment. I’d love to hear how you’re liking it.
The Nest thermostat will work with a 120V or 240V wall can or baseboard heater, BUT you need to install a transformer and an electric relay. I have a 240V wall can type setup in my condo and use the Nest thermostat to control it. I installed a 120V to 24V transformer (wired it to from an existing electrical outlet) to supply the 24V Nest needs for power. Then I installed a 240V solid-state relay which the Nest controls to turn the heat on and off. Works great! So if you REALLY want to use the Nest thermostat with your high voltage system, it is indeed possible. You may need an electrician to set this up if you don’t have the necessary skills/experience.